
Plane Tracker Introduction
The PlaneTracker App is designed for airports to improve the ability to track aircraft arrivals and departures, as well as monitor emergency situations.
It is an edge-based ACAP (Axis Camera Application Platform) application that integrates real-time aircraft tracking data (ADS-B) with live video. It transforms a PTZ Axis network camera into an automated spotting tool that can overlay flight information and automatically steer a PTZ (Pan-Tilt-Zoom) camera to follow aircraft.
Hardware and Network requirements
Supported cameras
Currently supported cameras are:
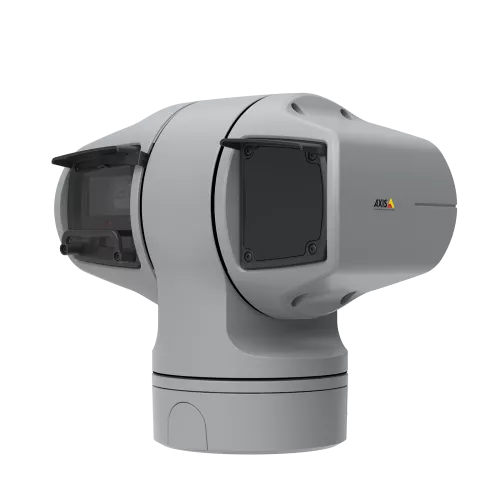
AXIS Q6225-LE PTZ Camera
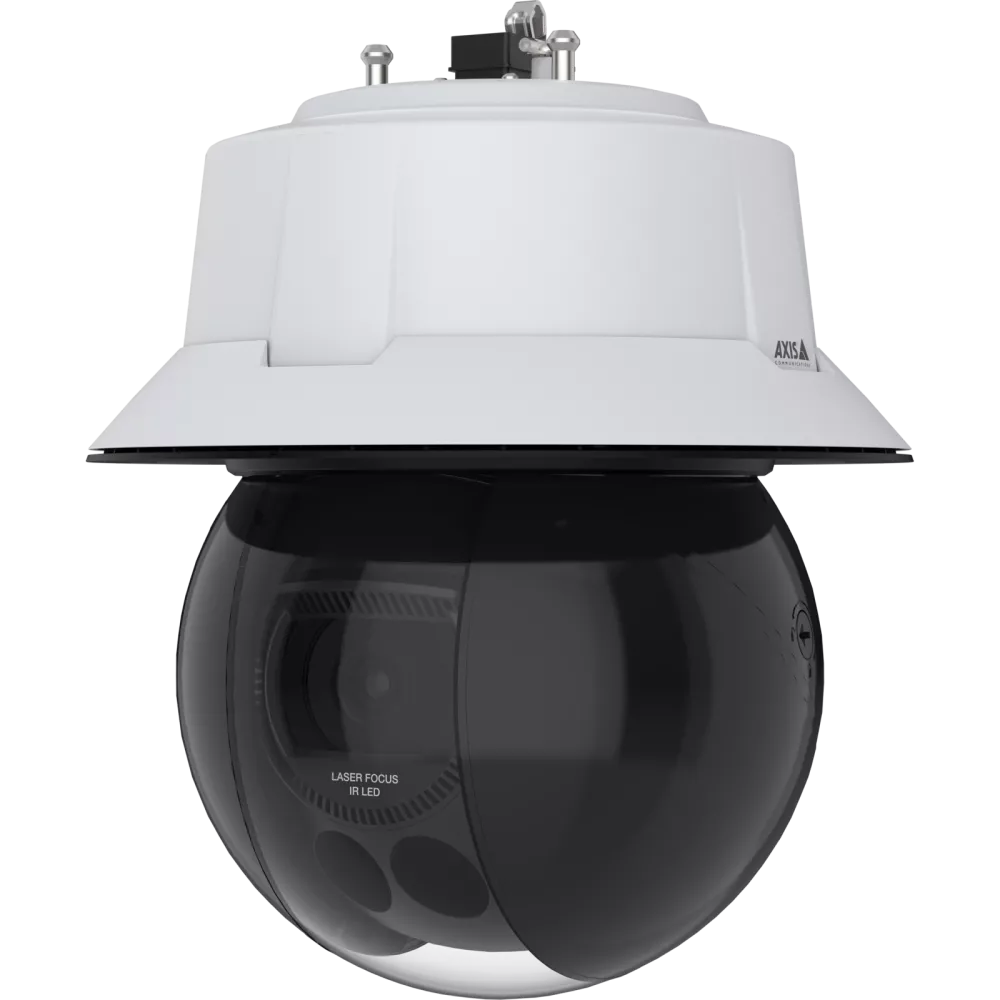
AXIS Q6355-LE PTZ Camera
AXIS Q6358-LE PTZ Camera
AXIS Q6315-LE PTZ Camera
AXIS Q6318-LE PTZ Camera
AXIS Q6325-LE PTZ Camera
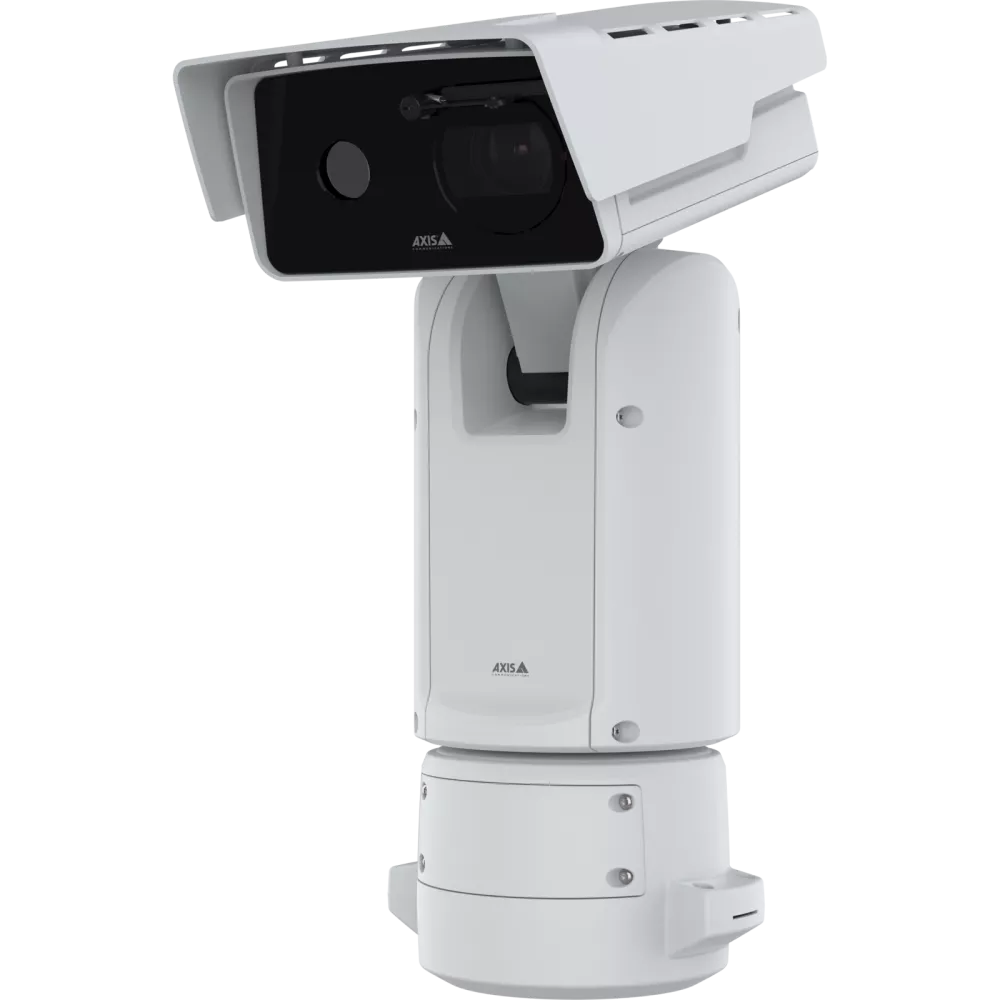
AXIS Q8752-E Mk II Bispectral PTZ Camera
Required Hardware
Mandatory hardware for basic PlaneTracker functionality.
- SD Card – 128GB minimum
- Axis camera mount – Axis Accessory selector
- ADS-B Receiver
- Flightradar 24 receiver
- Flightradar24 ADS-B receiver with all accessories needed (provided free of charge by Flightradar24)
- Receiver requires an internet connection
- Radarcape by Jetvision receiver
- Radarcape EVO 1CH Bundle, A3 ADS-B Antenna 1090 MHz with 33 ft / 10 m cable
- Paid Radarcape Software License Key for Commercial Use
- Flightradar 24 receiver
- Coaxial RF Attenuator 20 dB
Optional Hardware
Optional hardware that is unnecessary for tracking.
AUDIO
- Radio receiver for ATC radio
- Uniden BC355N 300-Channel Base/Mobile Scanner or similar
- Bingfu 20-1300MHz Scanner Antenna or similar
- Network Audio Bridge
- AXIS C8110 – Audio bridge to convert analog signal to RTSP audio that can be added to a video stream (only used when Axis TU8003 is not installed)
- Audio cable 3.5 mm
- Stereo audio cable, male-male, 3-pole, 3.5mm jack connector
- External microphone for ambient sound
- AXIS TU1001-VE Microphone for ambient audio – camera with line-in required, or Axis TU8003, or Axis C8110
- Audio mixer
- Needed if both the ATC radio and the external microphone are used to mix two audio signals into one
- YGiTK Mini 4-channel Audio Mixer or similar
Network requirements
Flightradar 24 project installation
Internet connection is required.
We Recommend: 12 Mbps+ minimum upload speed. The “Golden Rule” is to have more than double the speed of your video bitrate. This recommendation is for a 1080p 30fps stream
Private installations
Internet connection is not required.
Keep in mind you are required to provide remote access during the PlaneTracker installation process.
Navigating the User Interface
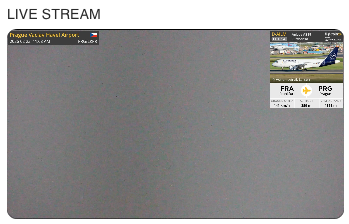
Live View
The live view displays the current video stream straight from the camera, complete with active widgets and graphical overlays.
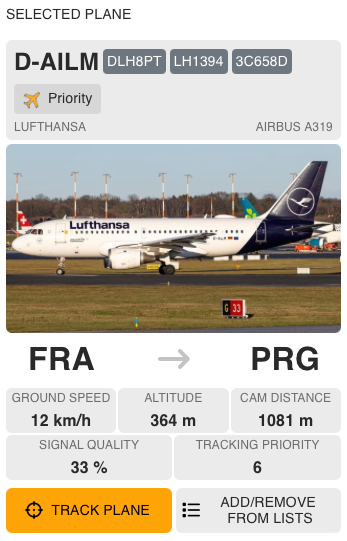
Selected Plane Widget
When you click on a plane, this widget displays its available information. It is important to note that selecting a plane does not automatically make the camera track it.
- Bottom Controls: Use the buttons at the bottom of this widget to tell the camera to track the plane, or to add/remove the plane from specific lists (whitelist, blacklist, or priority list). Tracking continues until manually stopped, plane’s signal is lost or a new plane is tracked manually.
Tracking Settings
Here, you can choose how the camera operates:
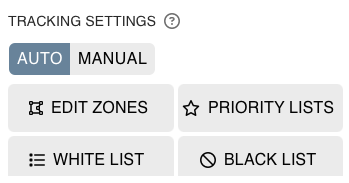
- Auto Mode: The camera automatically tracks planes based on the zones you’ve drawn and the priority rules you’ve set.
- Manual Mode: The camera will only track planes that you manually select.
- You can also edit your custom tracking zones and priority lists from this menu.
The Map Interface
The interactive map is your primary tool for monitoring airspace.
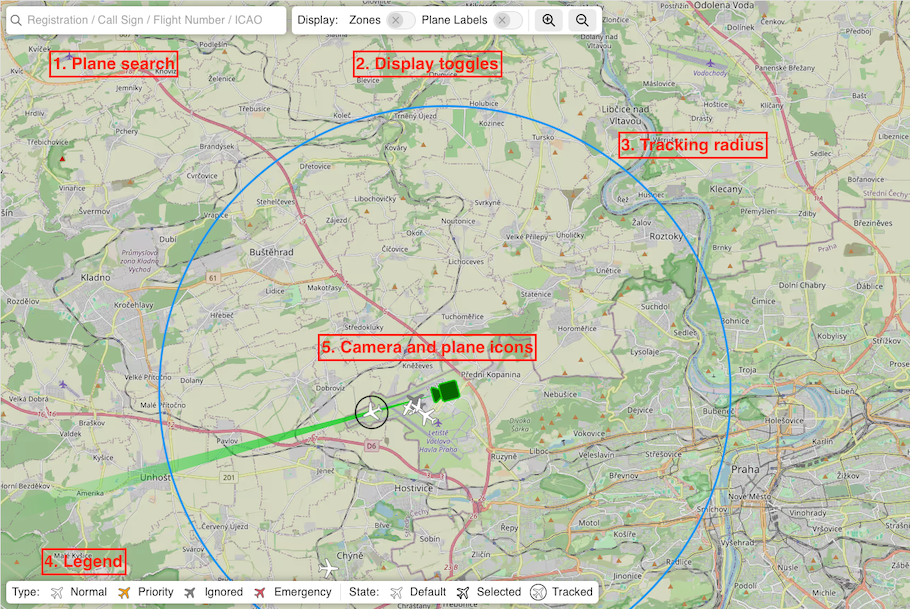
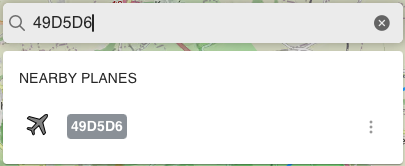
1. Plane Search: Use this search bar to find specific airplanes based on their parameters. A successful search will display the plane’s state and type. Clicking the result will select the plane and center the map on it, but it will not automatically track it.
2. Display Toggles: Easily show or hide your tracking zones and plane identification labels to declutter the map.
3. Tracking Radius: The large blue circle indicates your camera’s effective range. Planes outside this radius are completely ignored. This radius is set in the CamStreamer admin panel.
4. Legend: Explains the different airplane icons and their current tracking states.
5. Camera and Plane Icons: You will see plane icons representing aircraft broadcasting ADS-B data. The camera icon shows your camera’s physical location, viewing direction, and current zoom level (represented by the green cone). The camera’s position is established during the “Night sky calibration” process.
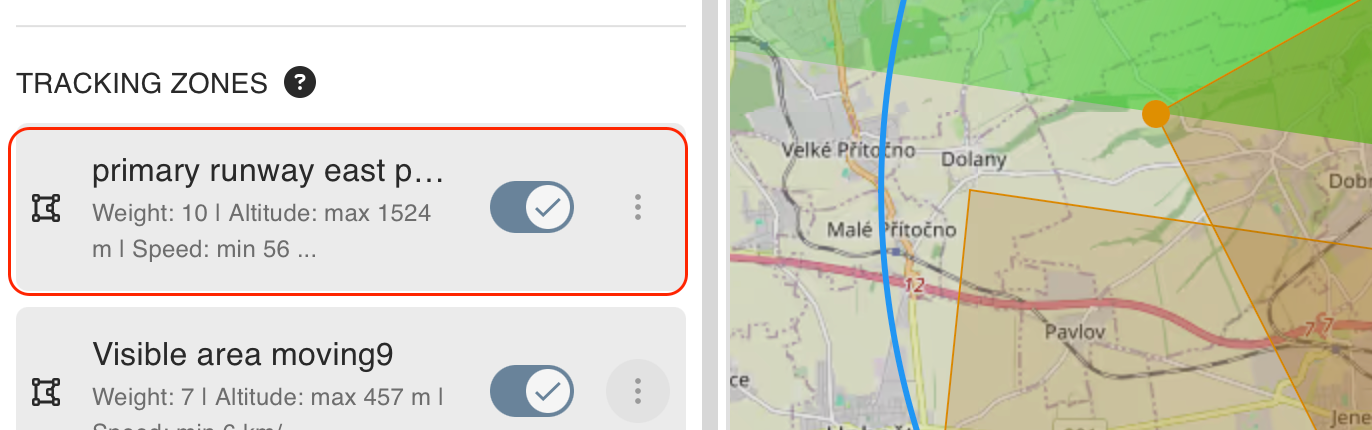
Editing Tracking Zones
Zones act as geographic filters, telling the camera exactly where it has a clear view and where it should start looking for planes.
Creating and Configuring a Zone
When creating a new zone, you will set the following rules:
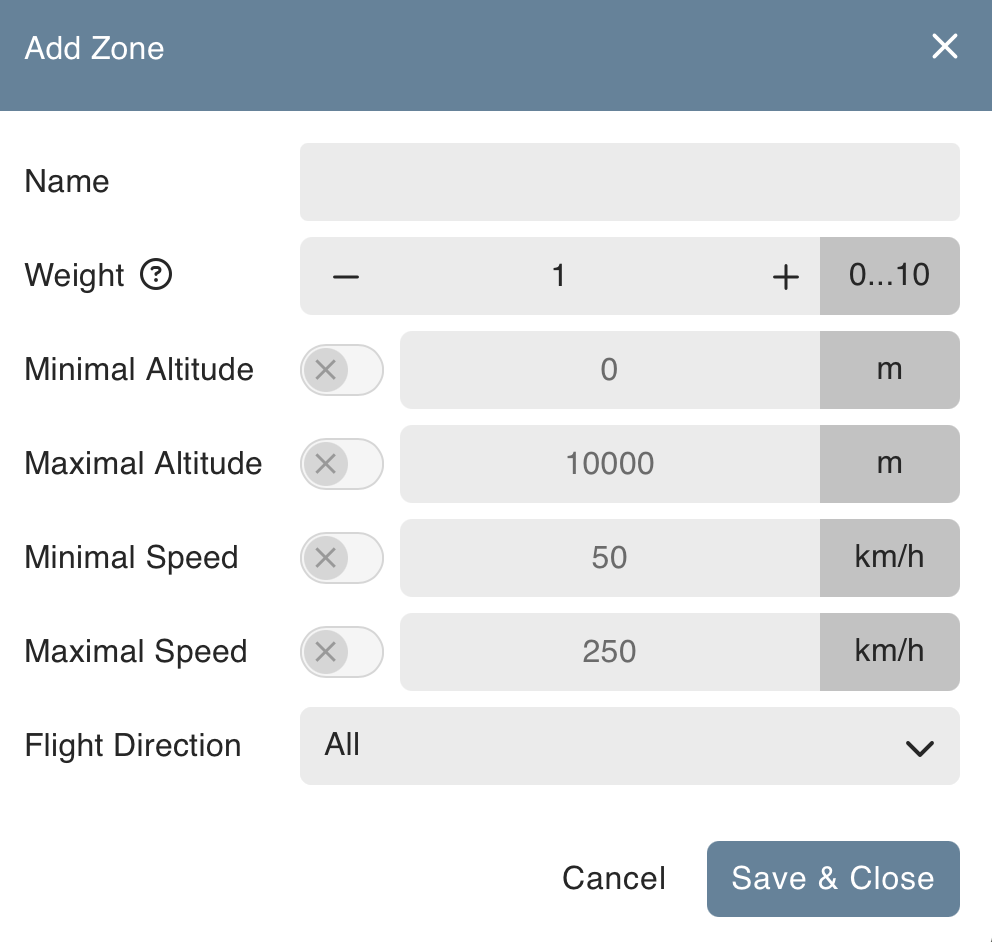
- Name: Give your zone a clear title (e.g., “Runway 1”).
- Weight (1-10): This determines the tracking priority when a plane enters the area (10 is the highest priority).
- Minimal/Maximal Altitude: The specific altitude range a plane must be within for the camera to start tracking it.
- Minimal/Maximal Speed: The speed a plane must be traveling to start or stop tracking.
- Flight Direction: Choose whether to track only planes that are taking off, landing, or all directions.
Changing Zone Shapes
You can visually edit your zones directly on the map.
- Select the zone you wish to edit from the left-hand panel.
- Drag and drop the corner points on the map to change the shape.
- Click an existing corner point to remove it, or click anywhere on the boundary line to create a new corner point.
Best Practices for Zones
- Keep it simple: Complex shapes require more processing power from the camera.
- Don’t overcomplicate weights: Having too many overlapping zones with varying weights can cause the camera to frantically switch between planes, creating a chaotic viewing experience.
- Overlap rule: If a plane sits inside two overlapping zones simultaneously, it will adopt the rules of the zone with the higher weight.
Standard Setup Examples:
- Runway Zone: Weight: 8-9 | Min Speed: 40 | Max Alt: 3000ft
- Taxi Zone: Weight: 5-7 | Min Speed: 5-10 | Max Alt: 3000ft
- Parked Zone (Optional): Weight: 3-4 | Max Alt: 3000 ft
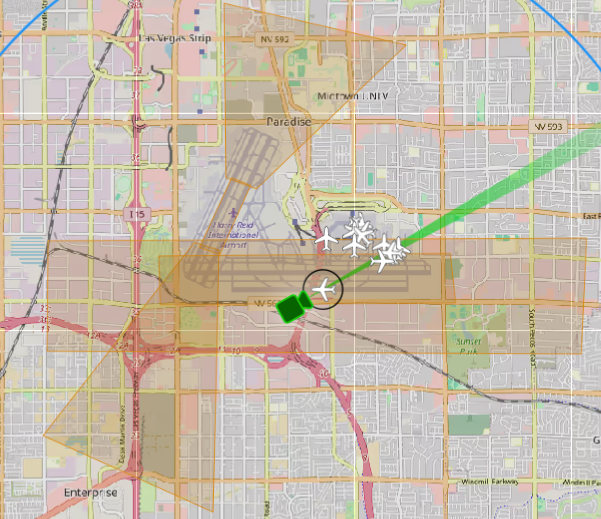
Las Vegas zone example
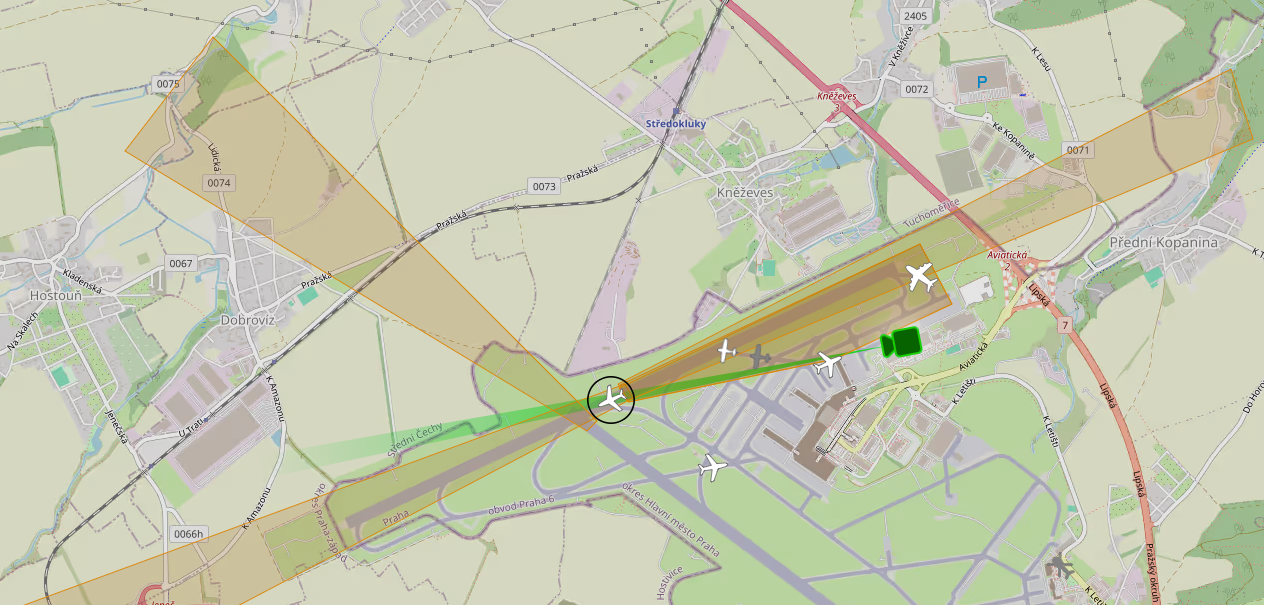
Prague airport zone example
Understanding Tracking Priorities
In Auto Mode, the system must decide which plane to look at wffhen multiple aircraft are in the sky. It calculates a “Priority Weight” based on a strict hierarchy: Plane Type -> Zone Weight -> Tracked Aircraft Bonus.
1. Plane Type (Highest Influence)
The type of aircraft overrides almost everything else.
Emergency: Absolute highest priority. These are tracked instantly, even if they are completely outside of your zones (unless disabled in settings).

Priority: High priority. They will override normal planes, but they must be inside a tracking zone to be tracked.

Normal: Standard priority. Must be in a tracking zone to be tracked.
Ignored / Blacklisted: The automated system completely ignores these, though you can still track them manually.
Note: When a whitelist is active, only planes on that specific list will be tracked.
2. Zone Weight
Each zone is configured with a specific weight value, which the system automatically assigns to any aircraft entering that area.
If multiple planes are of the same type (e.g., both are “Normal”), the system looks at the weight of the zone they are currently in.
Example Hierarchy:

Emergency Plane >

Priority Plane in Weight 8 Zone >

Priority Plane in Weight 6 Zone >

Normal Plane in Weight 8 Zone >
Normal Plane in Weight 6 Zone.
- If two identical planes are in the exact same zone, the camera simply sticks with the one it started tracking first until it leaves the area.
General User Settings
Accessible via the gear icon, these settings let you customize the visual output.

General & Stream Configuration
- Units: Toggle between Metric and Imperial. Please note that changing this does not automatically convert your existing number values; you will need to adjust them manually.
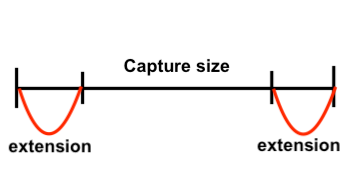
- Capture Size: The default physical size assumed for an airplane if database data is missing (100m is a good default).
- Capture Size Extension: Adds an extra margin of space around the plane when the plane size is known. For example, a 1m extension on a 100m plane results in a 102m capture box (1m added to each side). This extension may be higher for safety installations (offline), to make sure the whole plane is covered at all times.
- Stream Settings: Enter the resolution of your outgoing video stream, this does not change the stream resolution itself, but is used for displaying graphics. Warning: Inputting incorrect dimensions will warp the size of your CamOverlay widgets.
- Guard Tour: Select a Guard Tour for times when no planes are available to track. You must create this tour inside the Axis Camera UI first before it appears here.
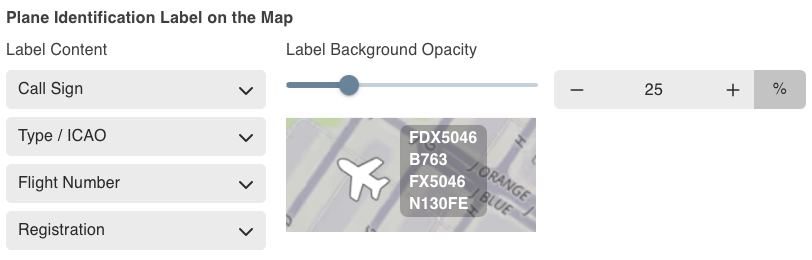
Map Labels & On-Screen Widgets
- Plane ID Label on the Map: Customize the text tag hovering next to planes on your map. You can show Call Sign, Type/ICAO, Flight Number, or Registration, and adjust the background transparency.
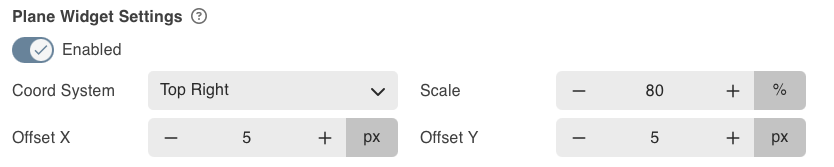
- Plane Widget Settings: Adjust the size (scale default is 70%) and screen position of the informational widgets generated by CamOverlay.
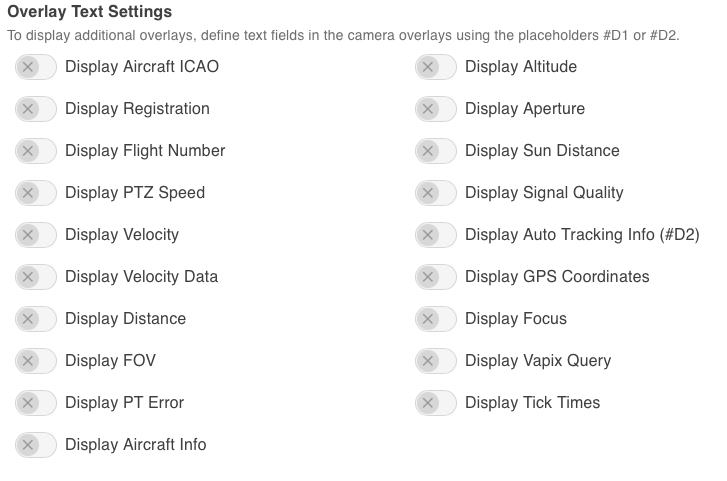
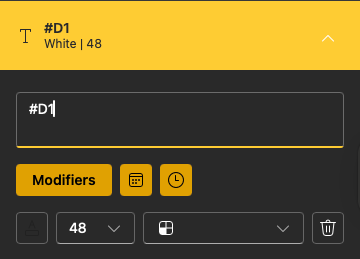
- Text Overlays: You can overlay raw data directly onto the video feed. You must first set up text fields in the Axis UI using placeholders like #D1 or #D2.
Backup & Restore
- Import & Export: Securely backup your configurations or restore them using a
planetracker-settings.zipfile.

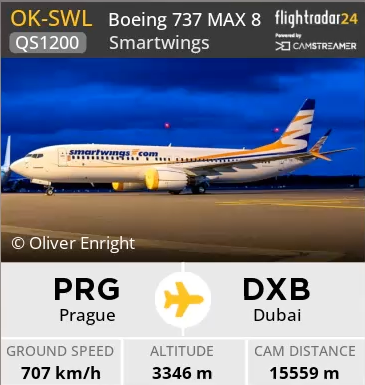
PlaneTracker video overlays
ADS-B + FR24 API data
FlightRadar24 Widget: Pulls live data from the FlightRadar24 API. Requires an active internet connection and an API key input in the Planetracker Admin section.
ADS-B + Radarcape database data
Radarcape Widget: Pulls data locally from a Radarcape ADS-B receiver’s database. Works completely offline.

Aiport widget
Airport Widget: Displays the local date, time, airport name, and flag. Input the correct ICAO code to configure this.

NOTICE
Note that you may have a Radarcape receiver and still use FlightRadar24 API to get extra overlay data. (requires internet connection)
Offline licensing
If you wish to license PlaneTracker in an offline environment, please refer to this guide here.
Resources
Architecture & Engineering documentation can be found here.